Install foam cornices, decorative building cornices, exterior cornices, interior cornices, trim cornices, door cornices, window cornices, Roman columns, and insulation panels.
Installation of Light Cornices™
Installation of Large Light Cornices™
Installation of Door Cornices and Light Cornices
Installation procedure
1. Prepare the surface for installation and clean the cornice to remove any grease or foreign materials.
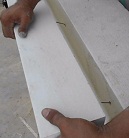
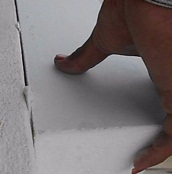
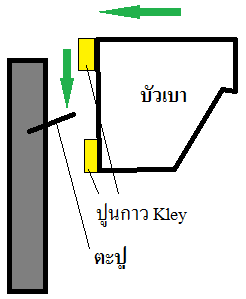
2. Drill the surface at an angle to insert anchors, nail them in, and cut off the nail heads.

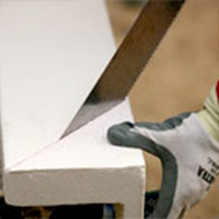
3. Measure and cut the cornice to the desired size and shape.


4. Apply Kley adhesive mortar to the back of the cornice and attach it to the prepared surface.


5. Press the cornice onto the anchored surface, ensuring it is level. Excess adhesive may squeeze out at the joints, which can be smoothed over with a trowel.


6. Inspect and finish the surface. Apply Kley adhesive mortar to the joints, allow it to dry, then sand to achieve a smooth finish.

7. Once installation is complete, check for any gaps. If found, apply Kley adhesive mortar, allow it to dry, then sand with sandpaper for a smooth finish.

8. When joining two pieces, inspect for any gaps. If present, use plaster to fill them.

Recommendations
- Anchors should protrude slightly for proper attachment to the interior of the light cornice.
- The paint used on the cornice should be acrylic water-based paint.
Curvature Rules
Most products can be installed on curved arches. The outer curve of the arch should be on the coated side.

